Jun 30, 2026Engineering Insights
Injection Molding Color Deviation: A 7-Step Troubleshooting Method for the Production Floor
A structured 7-step method for troubleshooting injection molding color deviation on the production floor — from standard verification to mold-level root cause analysis.
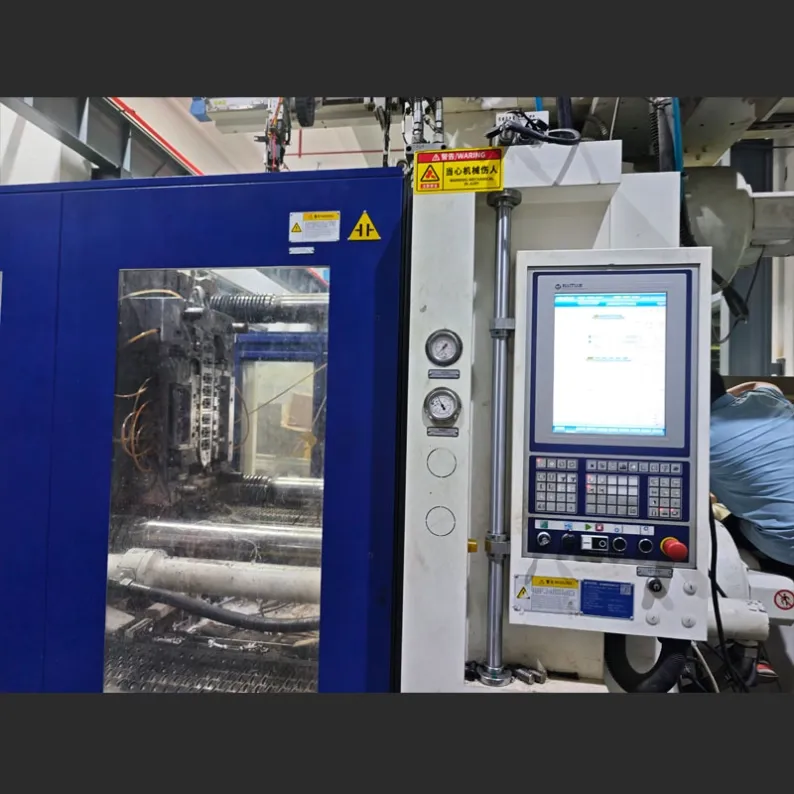
Color deviation is one of the most frustrating quality issues in injection molding production. It can cause entire batches to be scrapped, delay shipments, and create disputes between suppliers and customers.
The biggest mistake when dealing with color deviation is adjusting randomly — adding more color masterbatch, changing barrel temperature, or tweaking injection speed based on gut feeling. These reactions may fix the symptom temporarily, but they often create new problems in the next batch.
At Jeancen Mold, our production team follows a structured 7-step sequence when investigating color deviation on the shop floor. The logic is simple: start from the most basic and most common causes, then work toward more complex factors. This avoids wasted time and prevents unnecessary process changes.
The sequence is: Standard → Range → Material → Drying → Temperature → Process → Mold.
Step 1: Confirm the Color Standard
Before investigating anything else, confirm what you are comparing against.
This sounds obvious, but in practice, standard confusion is one of the most common root causes of color disputes. The wrong reference can make a good part look defective — or make a real problem invisible.
Key questions to ask:
- Are you comparing against the customer-approved color panel, or against the last production sample?
- Has the reference sample aged, yellowed, or been contaminated?
- Are you viewing the color under a calibrated light box, or under random workshop lighting?
- Has the light source type been specified by the customer?
Different customers may require different light source standards. European and American customers commonly specify D65 (simulated daylight), while Japanese customers may require TL84 (store lighting simulation). Viewing the same part under different light sources can produce completely different color impressions.
Color reference samples also degrade over time. ABS color panels, for example, should ideally be replaced every three months. PC-based references are especially prone to yellowing with age.
If the standard is not unified, every step after this is wasted effort.
Step 2: Define the Deviation Range
Once the standard is confirmed, the next step is to understand the pattern of the deviation.
- Is the entire batch off-color?
- Is the deviation only in certain cavities?
- Is only part of the molded surface affected?
- Did the color shift gradually during a production run?
The range tells you where to look. Each pattern points to a different category of root cause:
- Entire batch off-color → likely a material, drying, or masterbatch issue
- Single cavity off-color → likely a mold issue (blocked gate, hot runner temperature imbalance)
- Gradual shift during production → likely a temperature drift (thermocouple failure) or material change (regrind ratio creeping up)
- Local surface discoloration → likely a venting or shear-heat problem in the mold
For objective evaluation, a colorimeter (such as X-Rite or similar instruments) should be used to quantify the deviation as a ΔE value. A ΔE above 1.5 between color masterbatch batches is generally visible to the naked eye. Human visual judgment alone is unreliable, especially for light-colored parts.
Step 3: Check the Material and Masterbatch
If the standard and range are confirmed, the next step is to verify the raw material and colorant.
Key checks include:
- Is the resin grade correct? Has the supplier or lot number changed?
- Is the color masterbatch model correct? Has the batch changed?
- Has the masterbatch-to-resin ratio been weighed accurately?
- Has the regrind ratio changed or exceeded the specified limit?
- Has any material been accidentally mixed or cross-contaminated?
A dosing error exceeding 0.05% can directly cause visible color deviation. A regrind ratio change of more than 5% can shift the base color noticeably.
It is also important to confirm masterbatch-resin compatibility. For example, a PP-based color masterbatch should not be used with PE resin — the result is often poor dispersion and visible color inconsistency, even if the color formula itself is correct.
Step 4: Check the Drying Condition
Improper drying is one of the most overlooked causes of color deviation.
Under-drying can introduce moisture that affects melt behavior and surface appearance. Over-drying can cause thermal degradation of the resin itself, which changes the base color before any colorant is even considered.
Typical signs of over-drying:
- PC resin turns yellow
- ABS resin develops silver streaks and a darker surface tone
- Nylon (PA) resin oxidizes and shifts color
If the material drying temperature, time, or dew point is outside specification, the color result will be unreliable regardless of how carefully the masterbatch is dosed.
Step 5: Check the Temperature
Temperature is one of the most powerful variables affecting color — and one of the easiest to overlook when it drifts.
Key temperature checks:
- Barrel zone temperatures (not just set values — actual values)
- Nozzle temperature
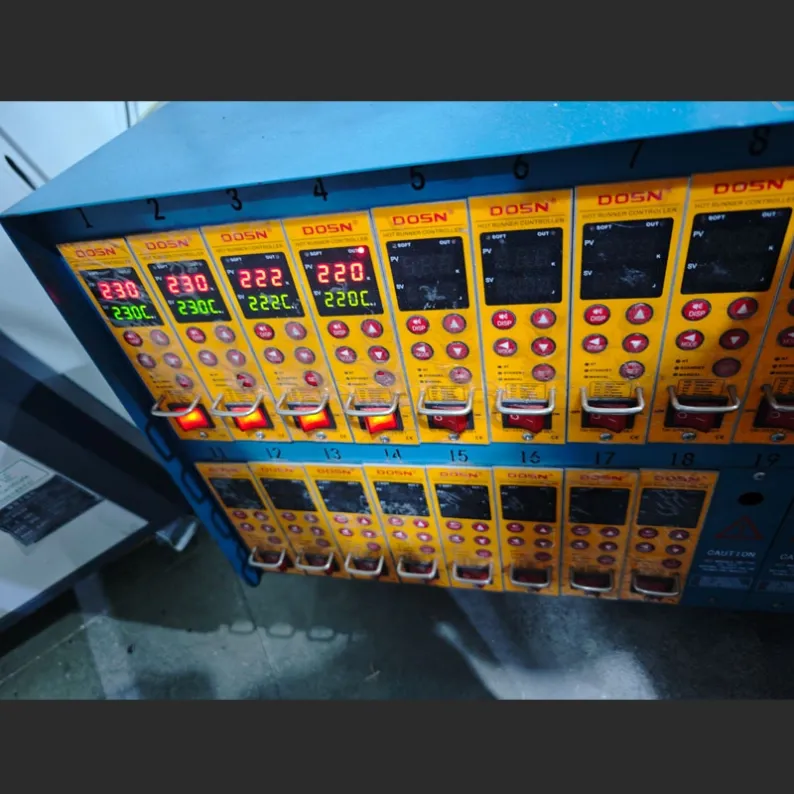
- Hot runner temperatures (if applicable)
A common trap is trusting the set temperature on the controller while the actual temperature has drifted. If a thermocouple is damaged or degraded, the displayed temperature may remain unchanged while the real temperature is significantly higher or lower.
Temperature effects vary by material:
- Barrel too hot: PVC can decompose and turn black; PA can oxidize and shift color
- Barrel too cold: color masterbatch does not fully disperse, resulting in color spots or streaks
- Hot runner temperature imbalance: different cavities receive melt at different thermal histories, producing cavity-to-cavity color variation
Step 6: Check the Process Parameters
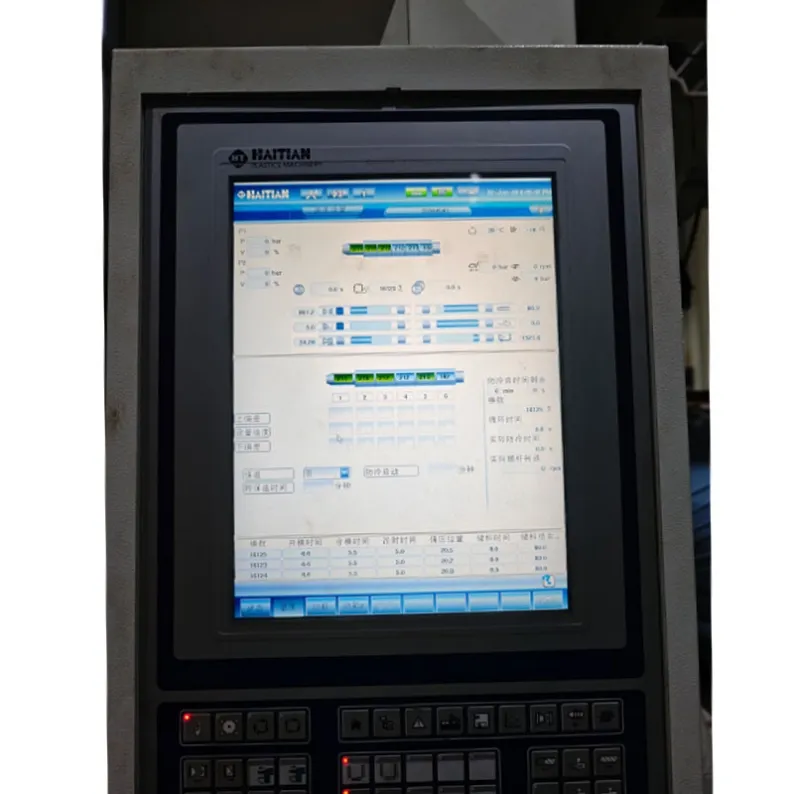
If material, drying, and temperature are all confirmed, the next area to investigate is the molding process itself.
Parameters that can affect color include:
- Injection speed: excessive speed increases shear heat, which can degrade sensitive colorants (for example, red pigment turning brown under high shear)
- Back pressure: too low can result in poor masterbatch mixing; too high can cause thermal degradation in heat-sensitive materials like POM
- Screw speed: affects mixing quality and residence time
- Packing pressure and time: affect molecular chain alignment, which changes how light passes through the part and how color appears
- Residence time: extended residence in the barrel increases thermal exposure and risk of degradation
When adjusting process parameters for reasons unrelated to color, it is good practice to re-verify color after the change. A process adjustment intended to fix a dimensional issue can unintentionally shift the color.
Step 7: Check the Mold
If all upstream factors have been verified and the color deviation persists, the investigation moves to the mold.
Key mold-related checks:
- Gate size: a gate that is too small increases shear heat as material passes through, which can decompose color masterbatch (a common sign is red color shifting toward brown)
- Venting: blocked or insufficient venting traps gas, causing localized burn marks that appear as dark spots or discoloration
- Mold temperature uniformity: uneven mold temperature across the cavity creates different cooling and crystallization conditions, which can produce visible color variation across the part surface
- Hot runner dead zones: stagnant material in hot runner corners can degrade over time and periodically flush discolored material into the cavity
Why the Sequence Matters
This 7-step method is not just a checklist. The sequence itself is the method.
Each step is ordered by frequency and simplicity:
- Steps 1–2 (Standard, Range) eliminate the most basic misunderstandings
- Steps 3–4 (Material, Drying) address the most common root causes — industry data suggests that raw material and colorant issues account for roughly 60% of all color deviation cases
- Steps 5–6 (Temperature, Process) cover the process-related causes that account for most of the remaining cases
- Step 7 (Mold) addresses the least common but most complex factors
By following this order, the production team avoids jumping to expensive or disruptive conclusions before simpler causes have been ruled out.
Practical Tips for Faster Troubleshooting
Use instruments, not eyes alone. A colorimeter removes subjectivity and provides repeatable ΔE values. This is especially important for light-colored parts where human perception is unreliable.
Record every deviation. Each color deviation event should be documented with the reference sample information, deviation range pattern, and parameter readings at each step. Over time, this creates a searchable database that accelerates root cause identification for recurring issues.
Prioritize high-frequency causes first. In most production environments, the top three causes of color deviation are insufficient drying, incorrect masterbatch ratio, and temperature drift. Checking these three alone resolves the majority of cases.
Consider material sensitivity. Different resins respond to different factors. PC is highly sensitive to temperature and drying. PP is more sensitive to shear. PVC is sensitive to residence time. Knowing the material's weak point helps focus the investigation.
When Color Deviation Should Be Reviewed During DFM
Some color risks can actually be identified before production begins — during the DFM and mold design phase.
For example:
- Gate size and location affect shear heat, which affects color stability
- Runner balance affects whether all cavities receive melt under similar thermal conditions
- Hot runner design affects residence time and dead-zone risk
- Venting design affects whether gas trapping will cause localized discoloration
If a project has strict color-match requirements, these factors should be reviewed during tooling design, not discovered during production troubleshooting.
Need Help with a Color-Sensitive Molding Project?
If you are developing a plastic part with strict color-match requirements, or if you are experiencing color deviation in an existing production program, our engineering team can help review the tooling, process, and material factors that may be contributing to the issue.